Instant Insights: Mastering the Connections Pane
Purpose / Objective
Tired of sifting through notes one by one? Instantly discover related content using Smart Connections.
Use the same technology behind recommended content engines to gain insights into your own notes.
User Goal
Learn how to open the main Smart Connections pane and use it for dynamic note discovery, previews, and quick linking.
Logline
See links to your notes come alive in real time—reduce time spent finding notes and prevent forgetting about notes!
Real-World Use Case
A writer or researcher quickly toggles through notes, sees basic filters, and drags references into their active note, drastically reducing manual linking.
Workflows
Demo 1: Ensure Smart Connections is Loaded
Step 1: Verify Plugin Installation
Confirm that the Smart Connections plugin is installed and activated.

Demo 2: Open the Connections Pane
Step 1: Open a Note
Open an existing note (e.g., “ExampleNote.md”) in the main editor.
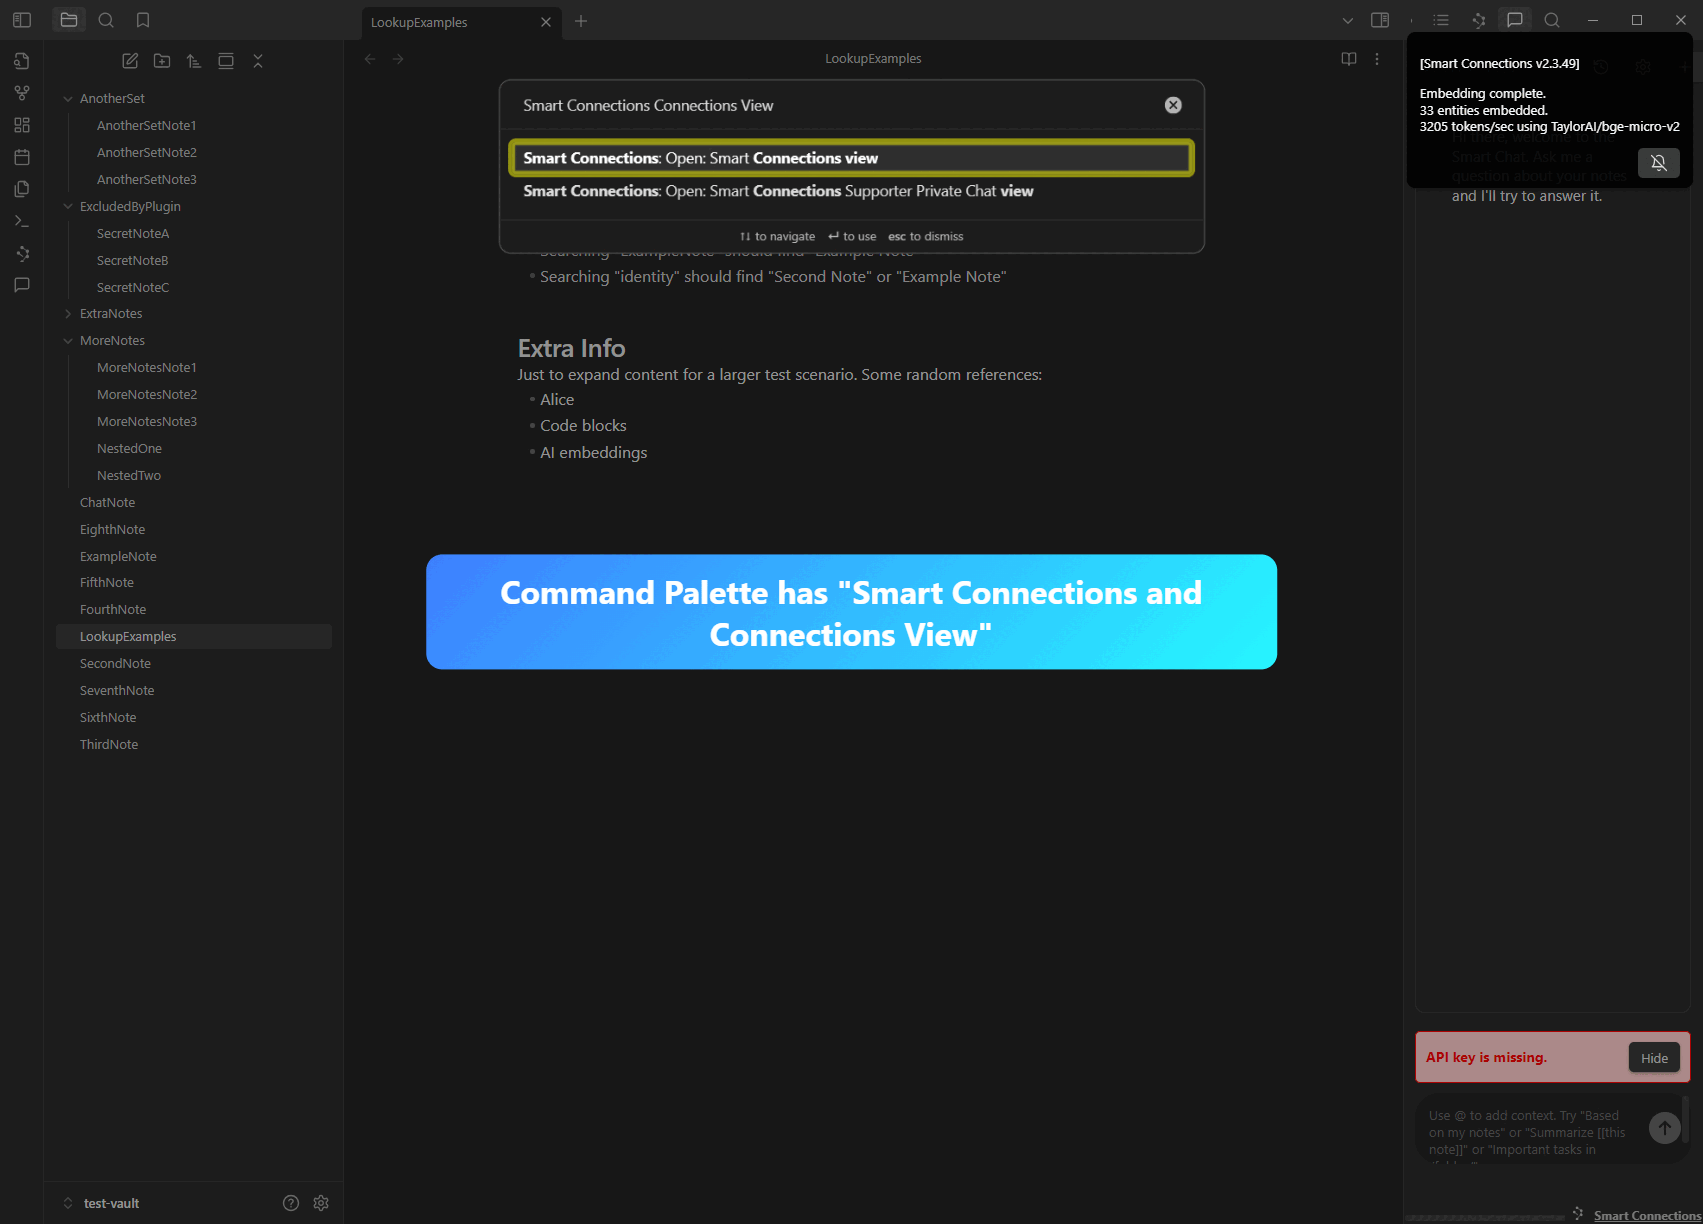
Step 2: Invoke the Connections Pane
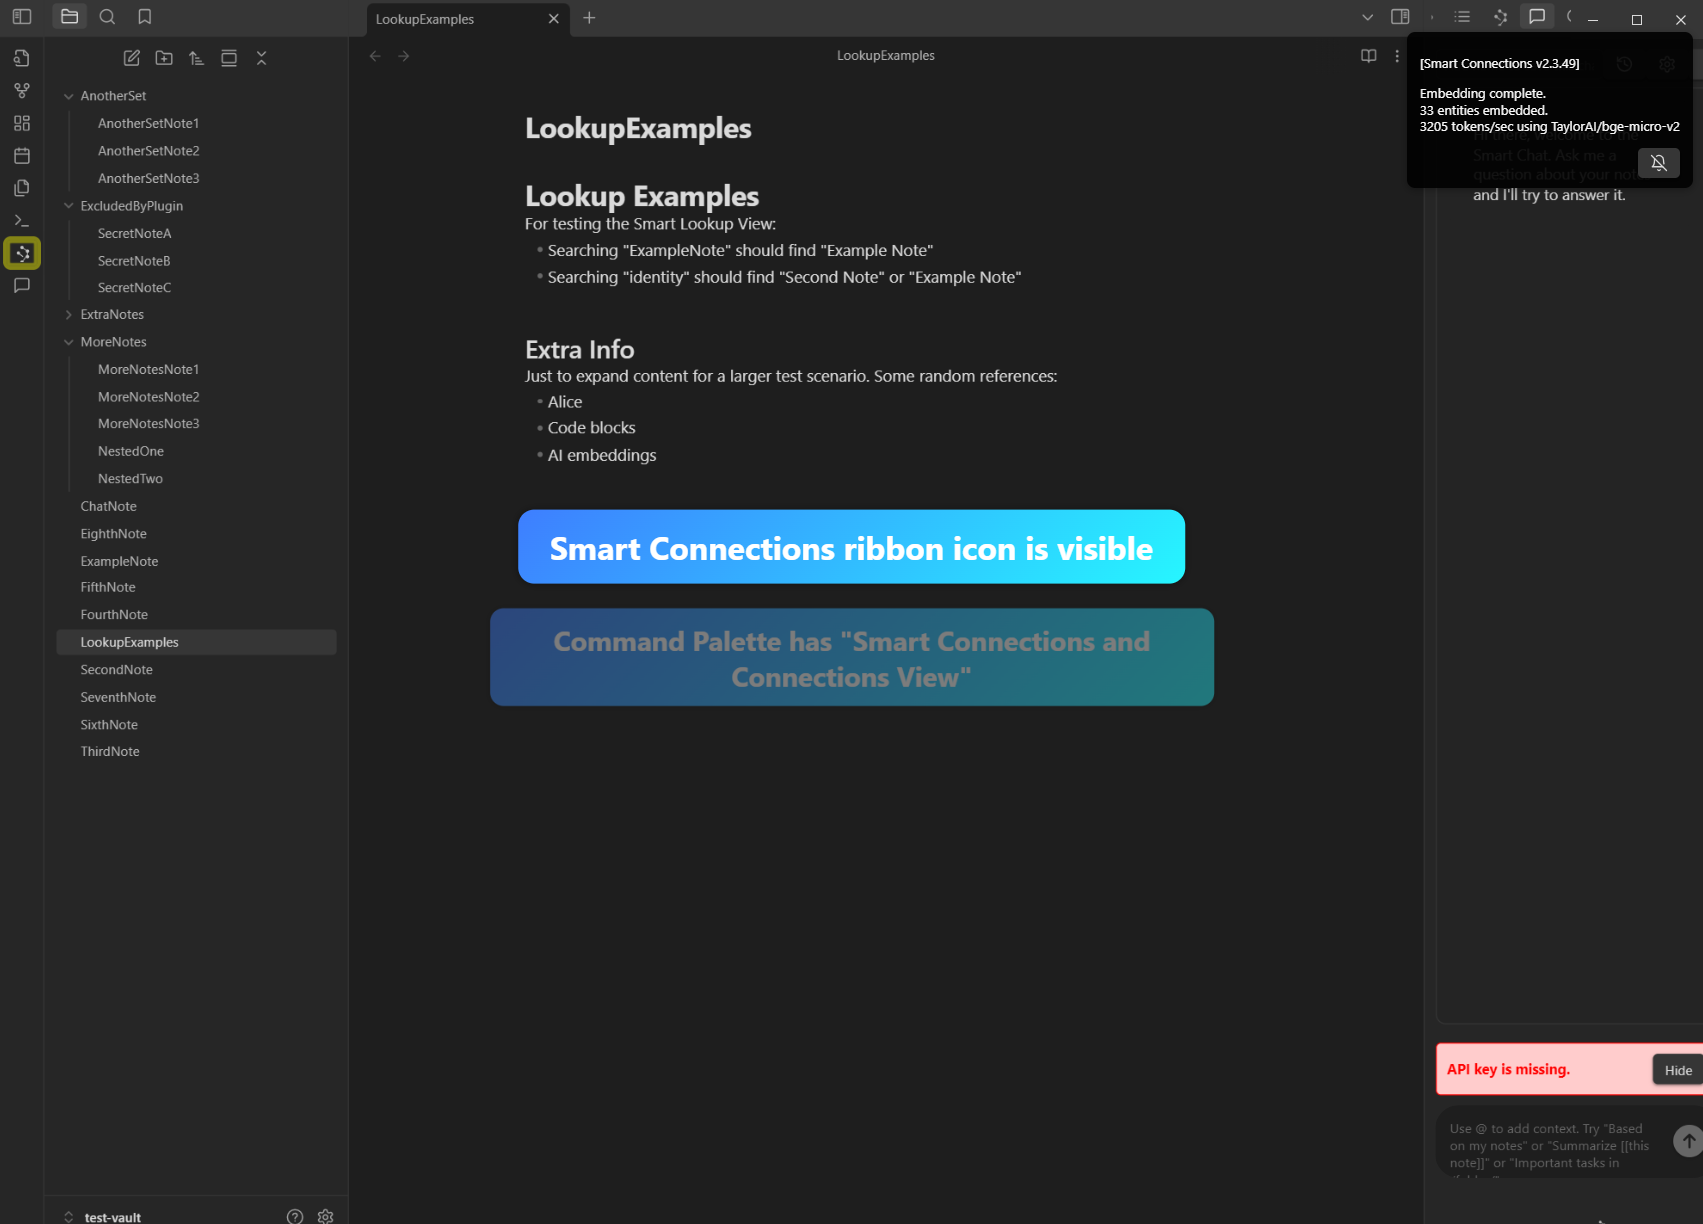
Use “Open: Smart Connections view” command or the ribbon icon to reveal the pane.
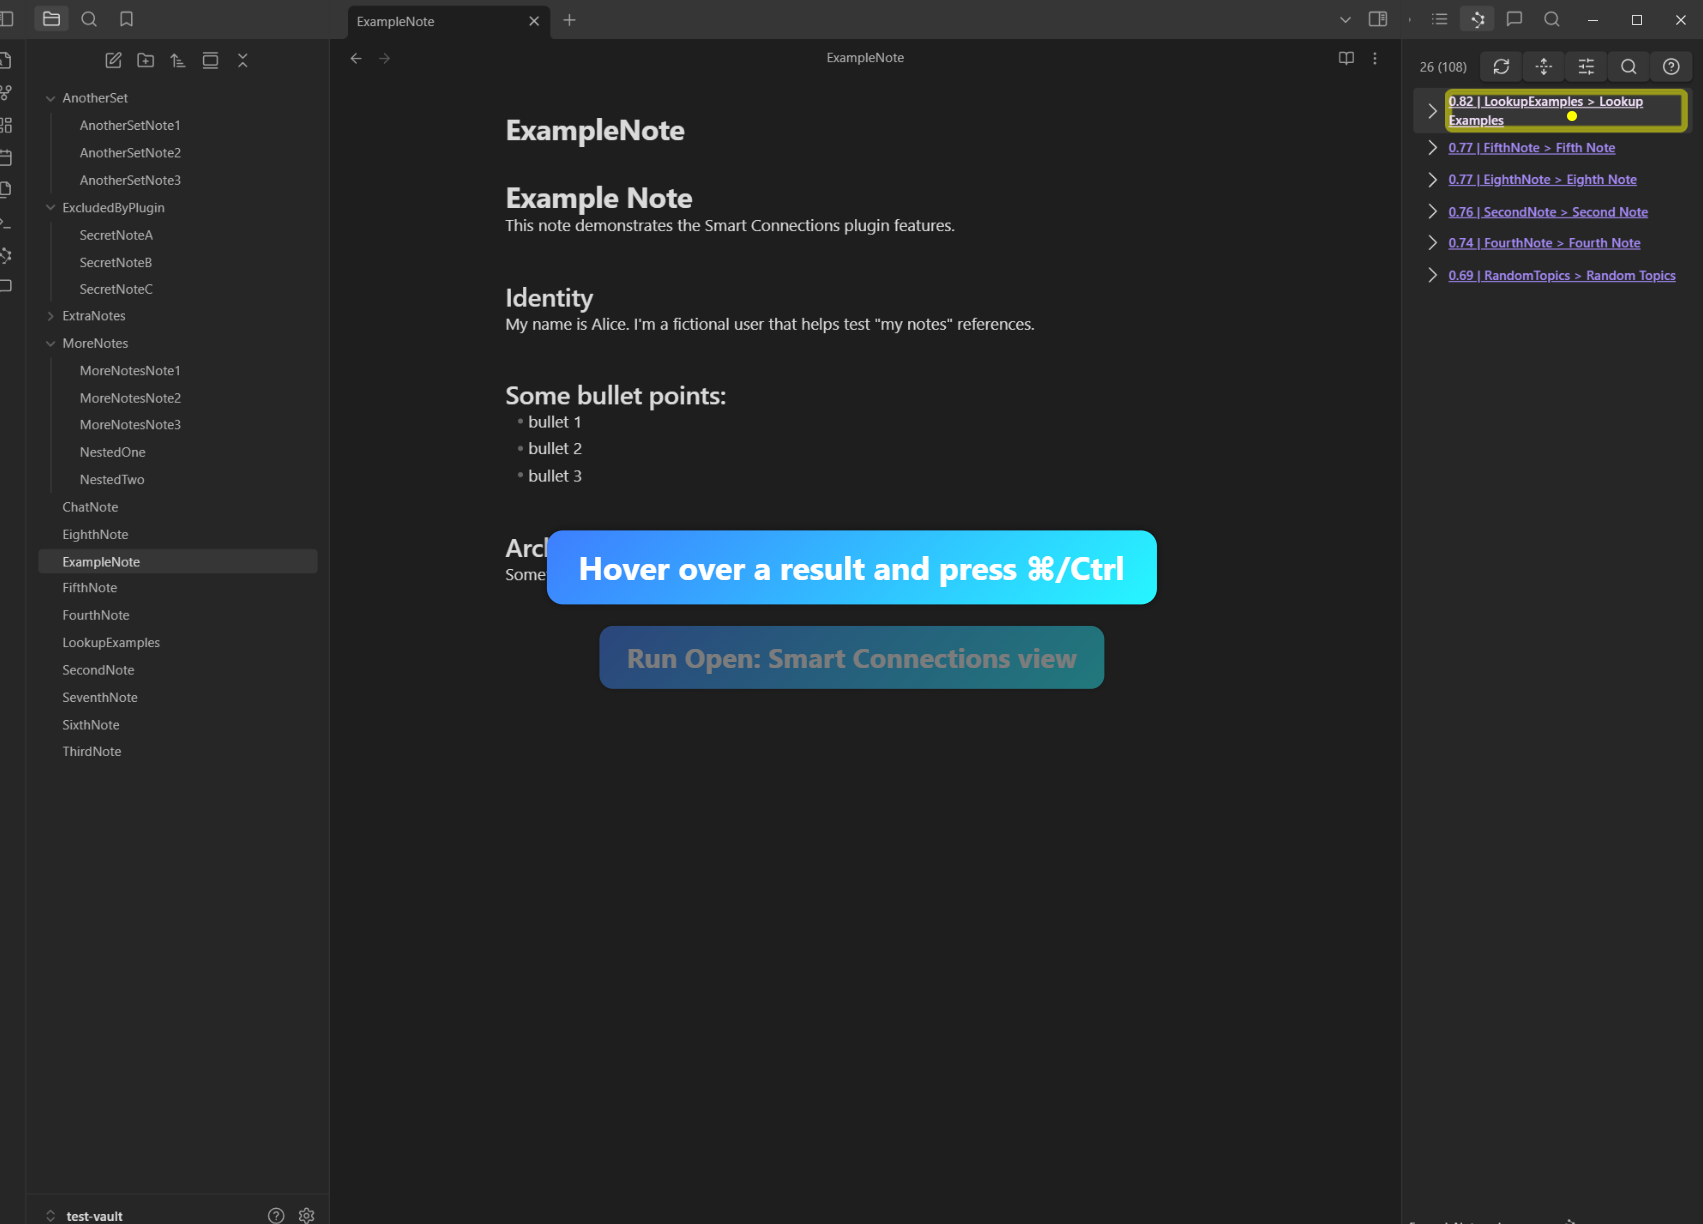
Step 3: Verify Results Display
Confirm the Connections pane becomes visible and displays results.
Demo 3: Hover Preview (⌘/Ctrl)
Step 1: Locate a Result
In the Connections pane, locate the first result link.
Step 2: Hover and Press ⌘/Ctrl
Hover over the link with the mouse pointer, then press and hold Ctrl/Cmd to see the note preview popover.
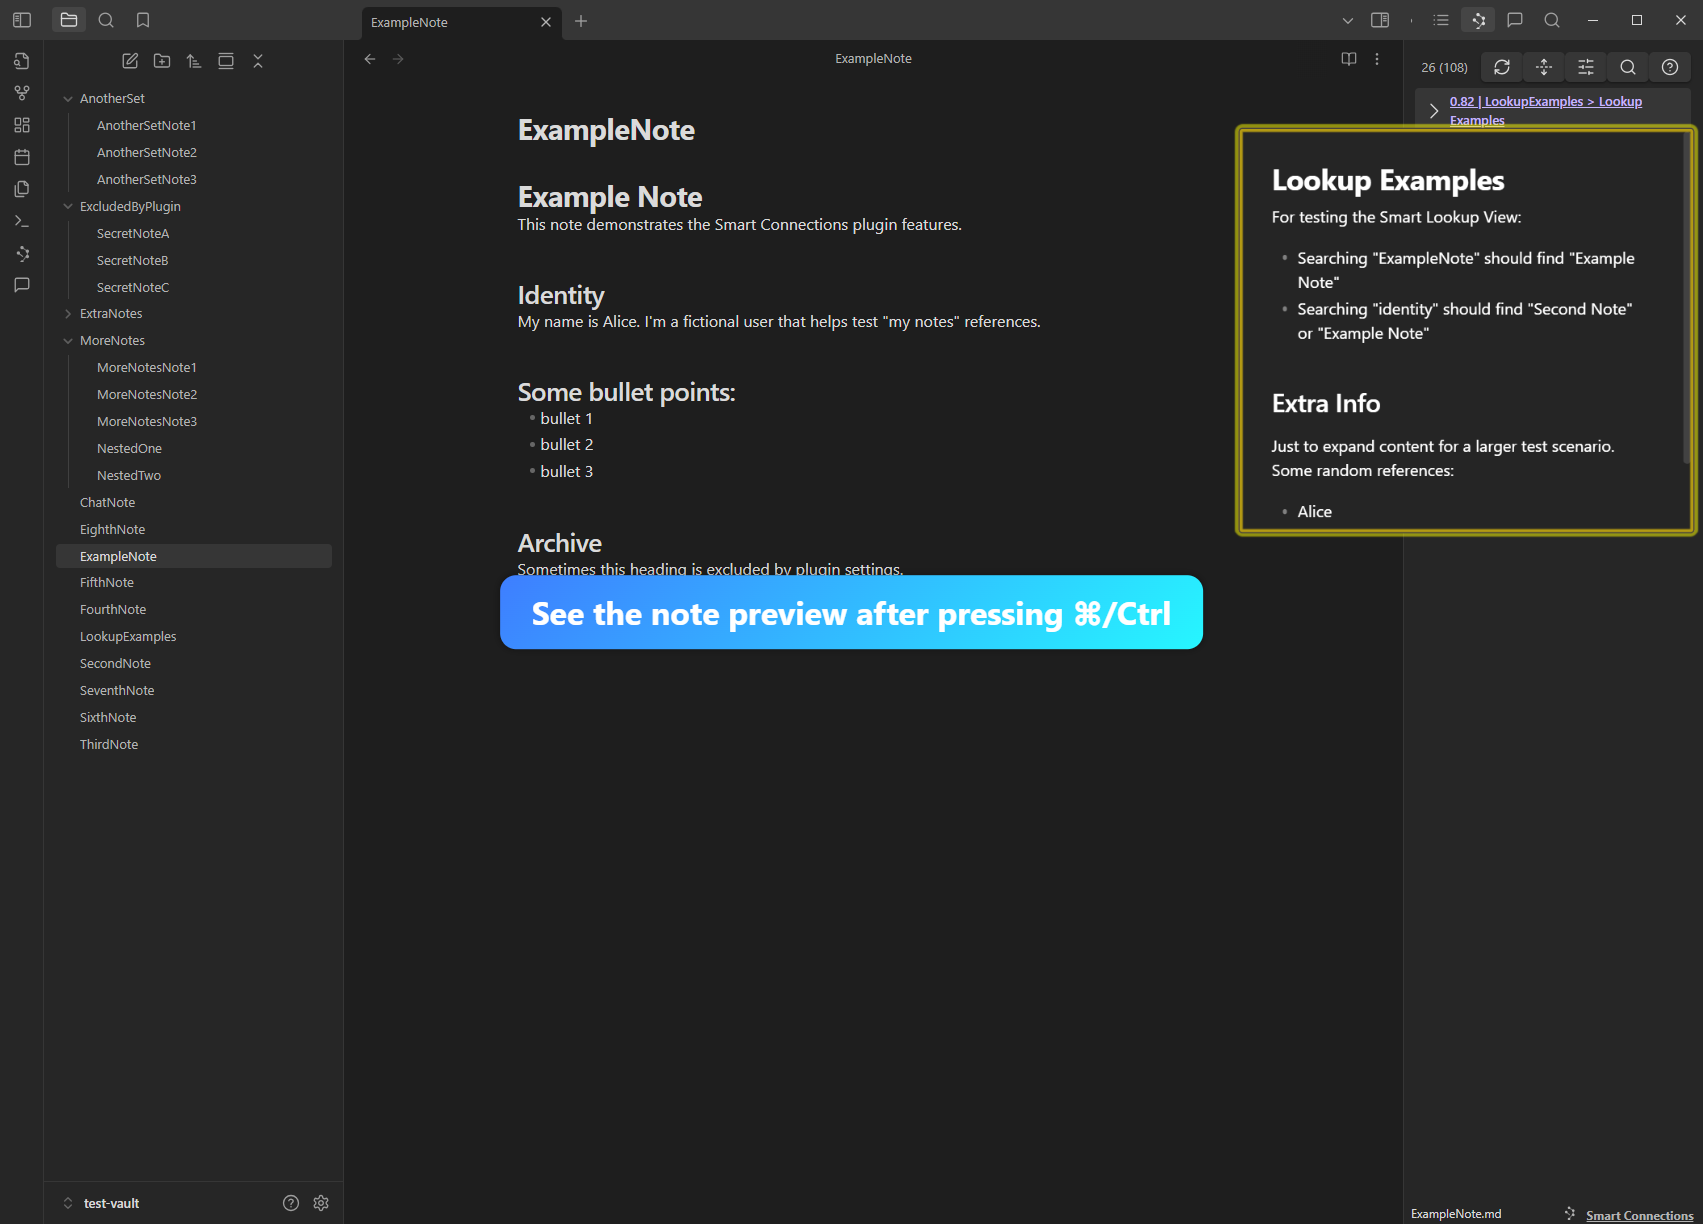
Step 3: Dismiss
Press ‘Escape’ or click away to close the popover.
Demo 4: Expanding a Result
Step 1: Find a Disclosure Triangle
In the Connections pane, find any result with a disclosure triangle.
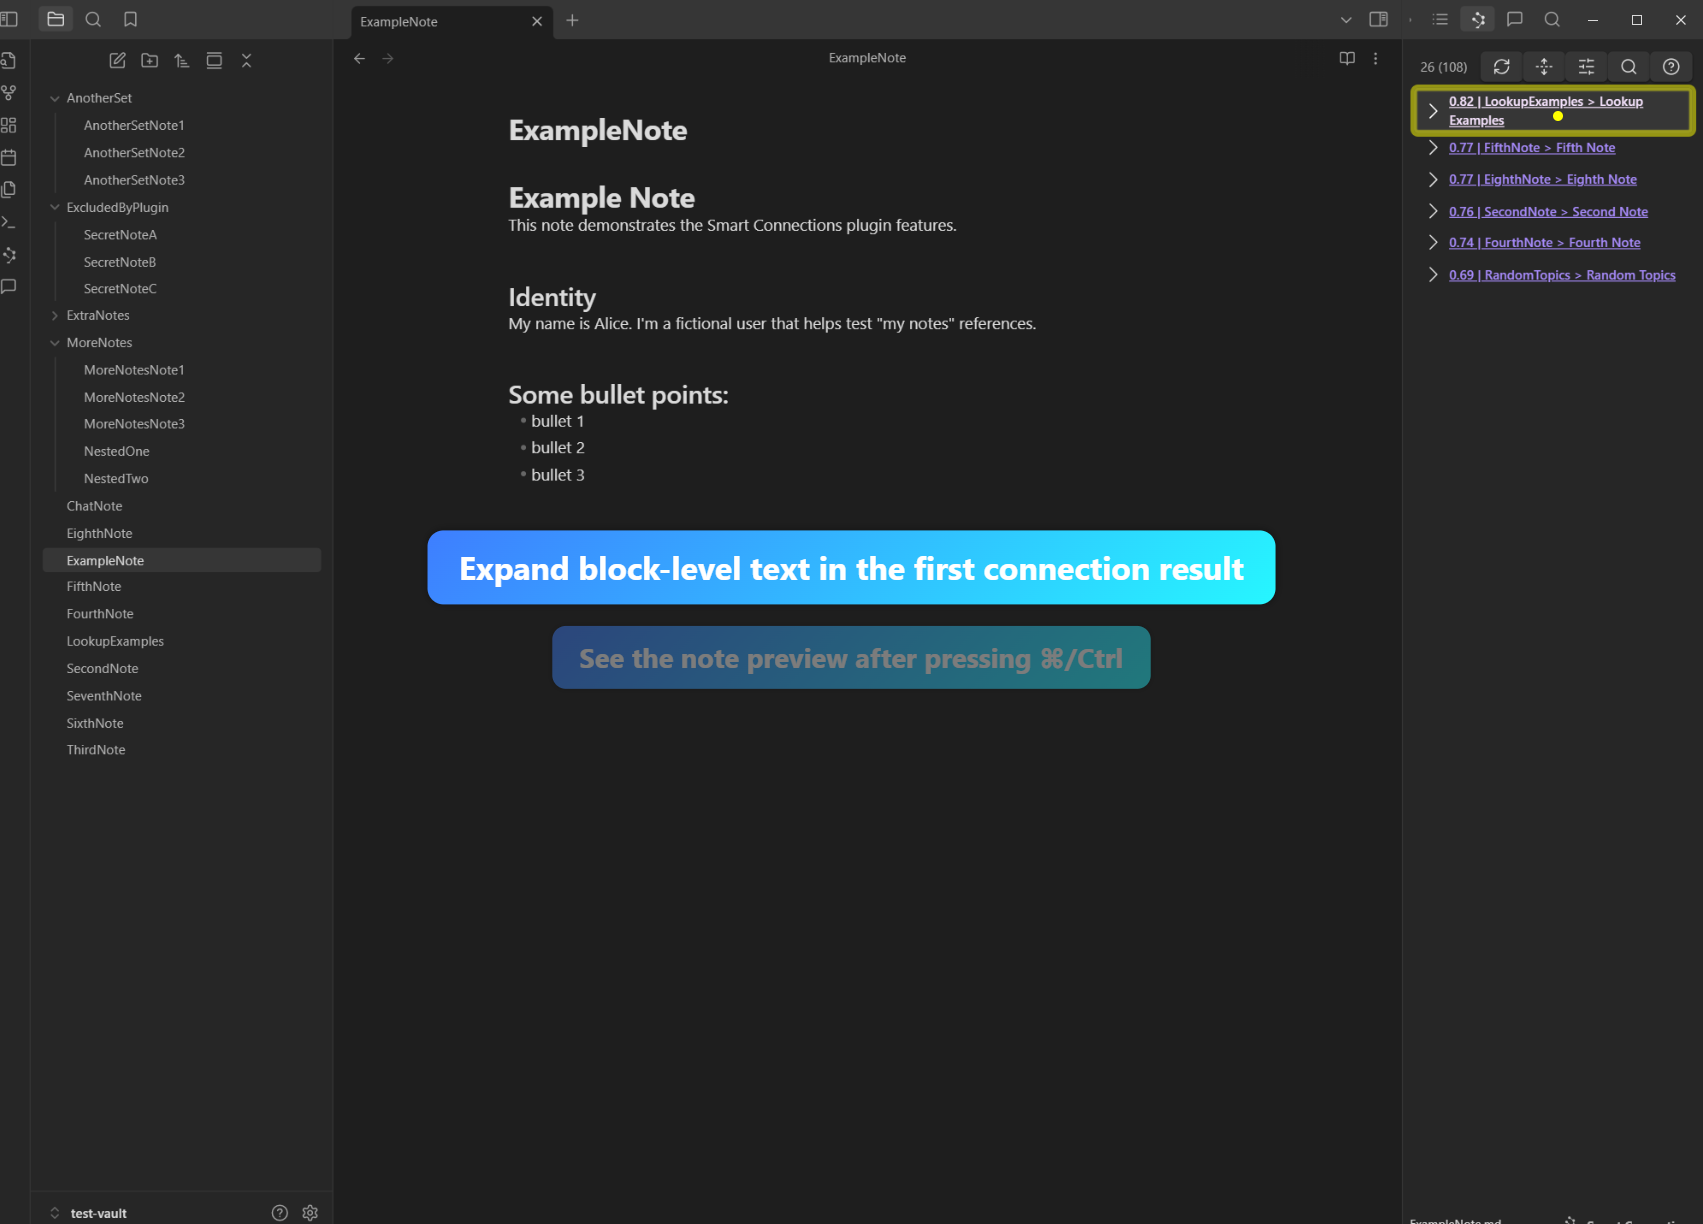
Step 2: Expand the Note Excerpt
Click the arrow/triangle to expand the note snippet.
Step 3: Confirm Revealed Content
Check that text snippet or note contents are revealed.
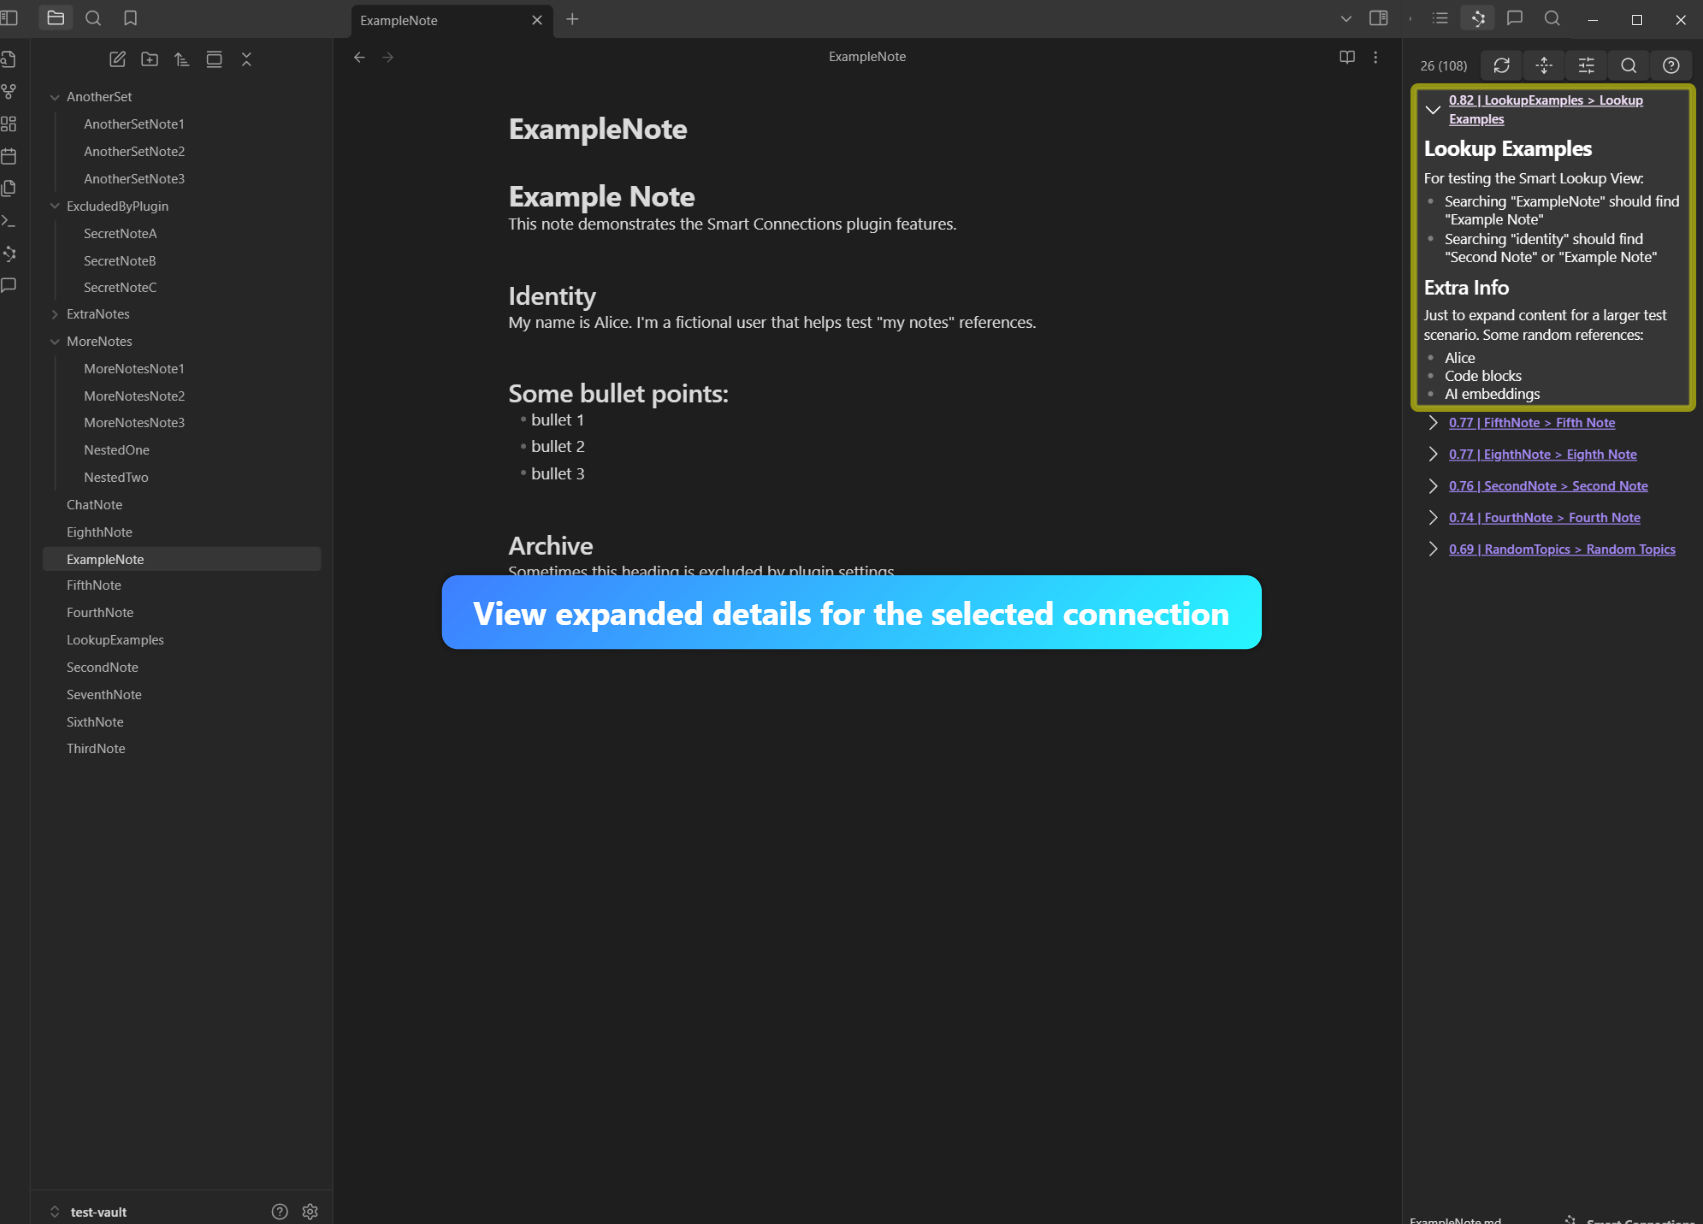
Demo 5: Click an Expanded Result
Step 1: Click the Title
With a result already expanded, click on its title or name in the Connections pane.
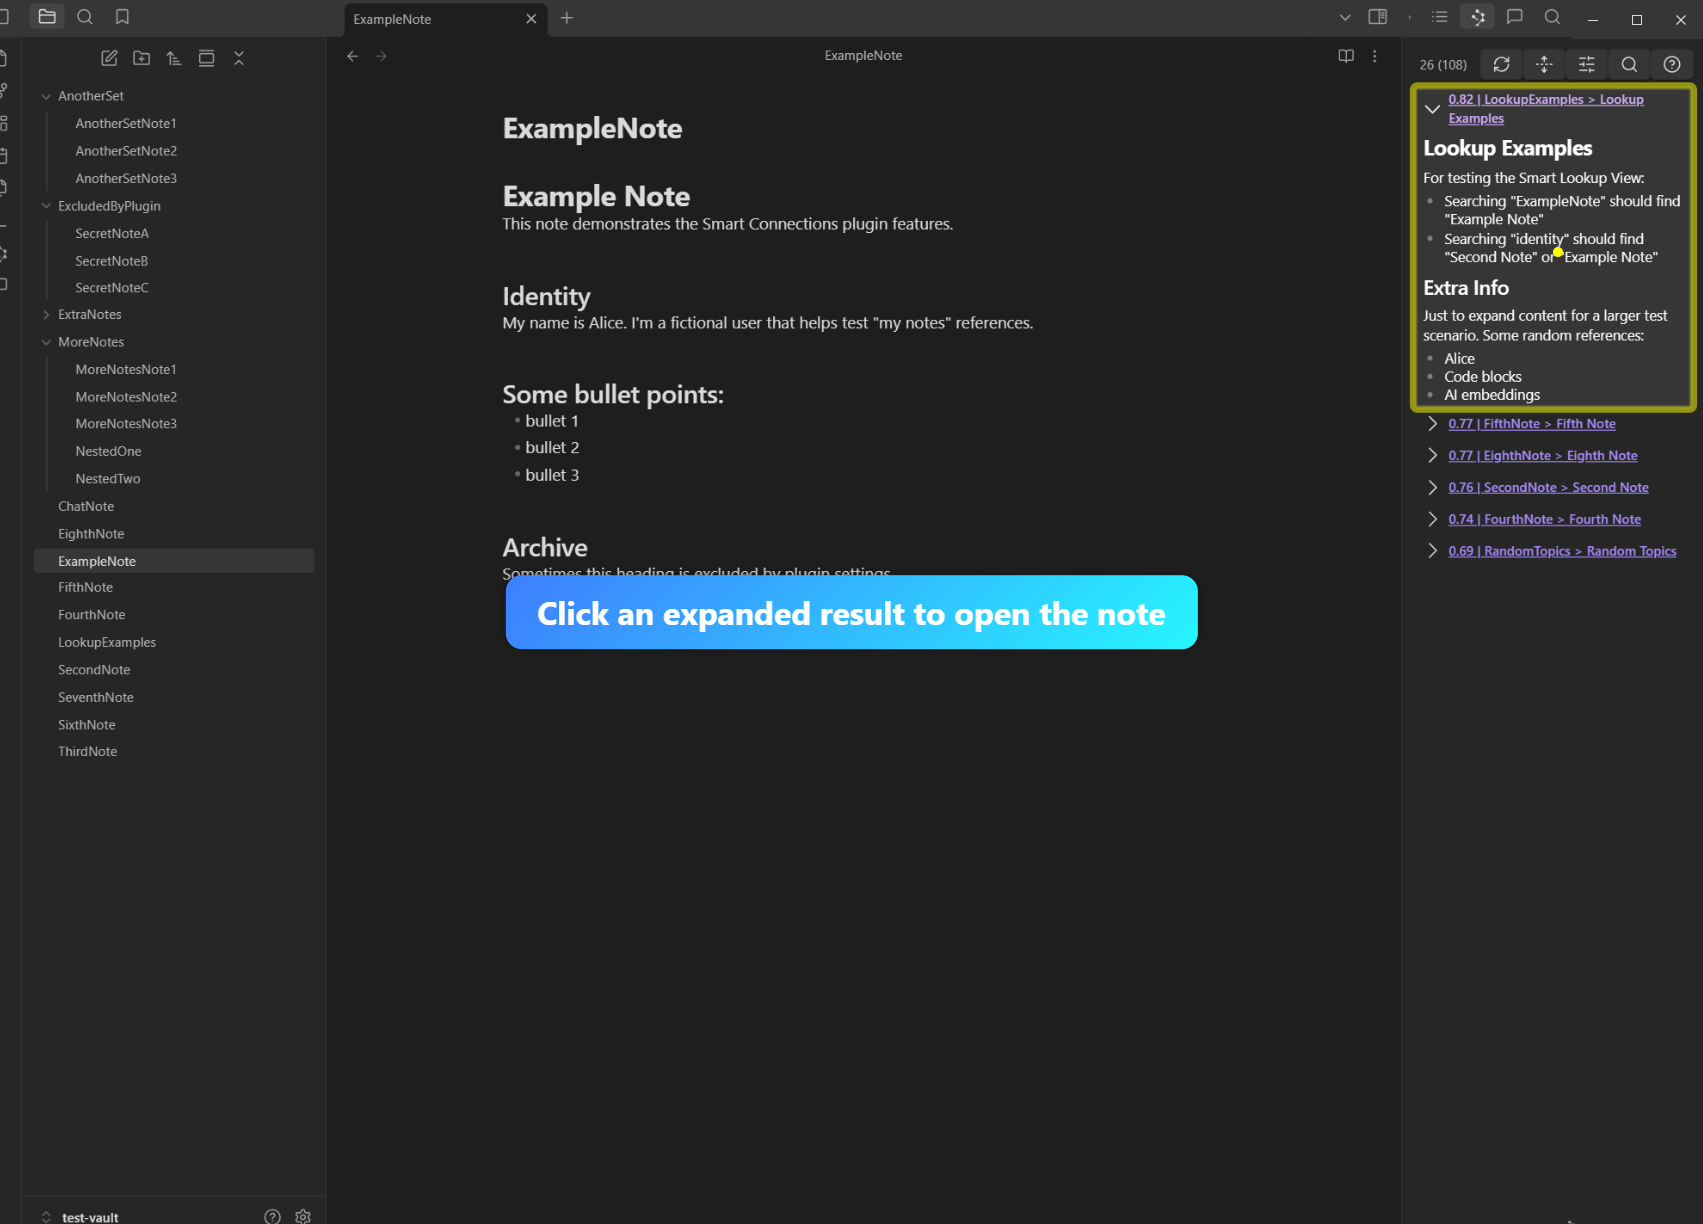
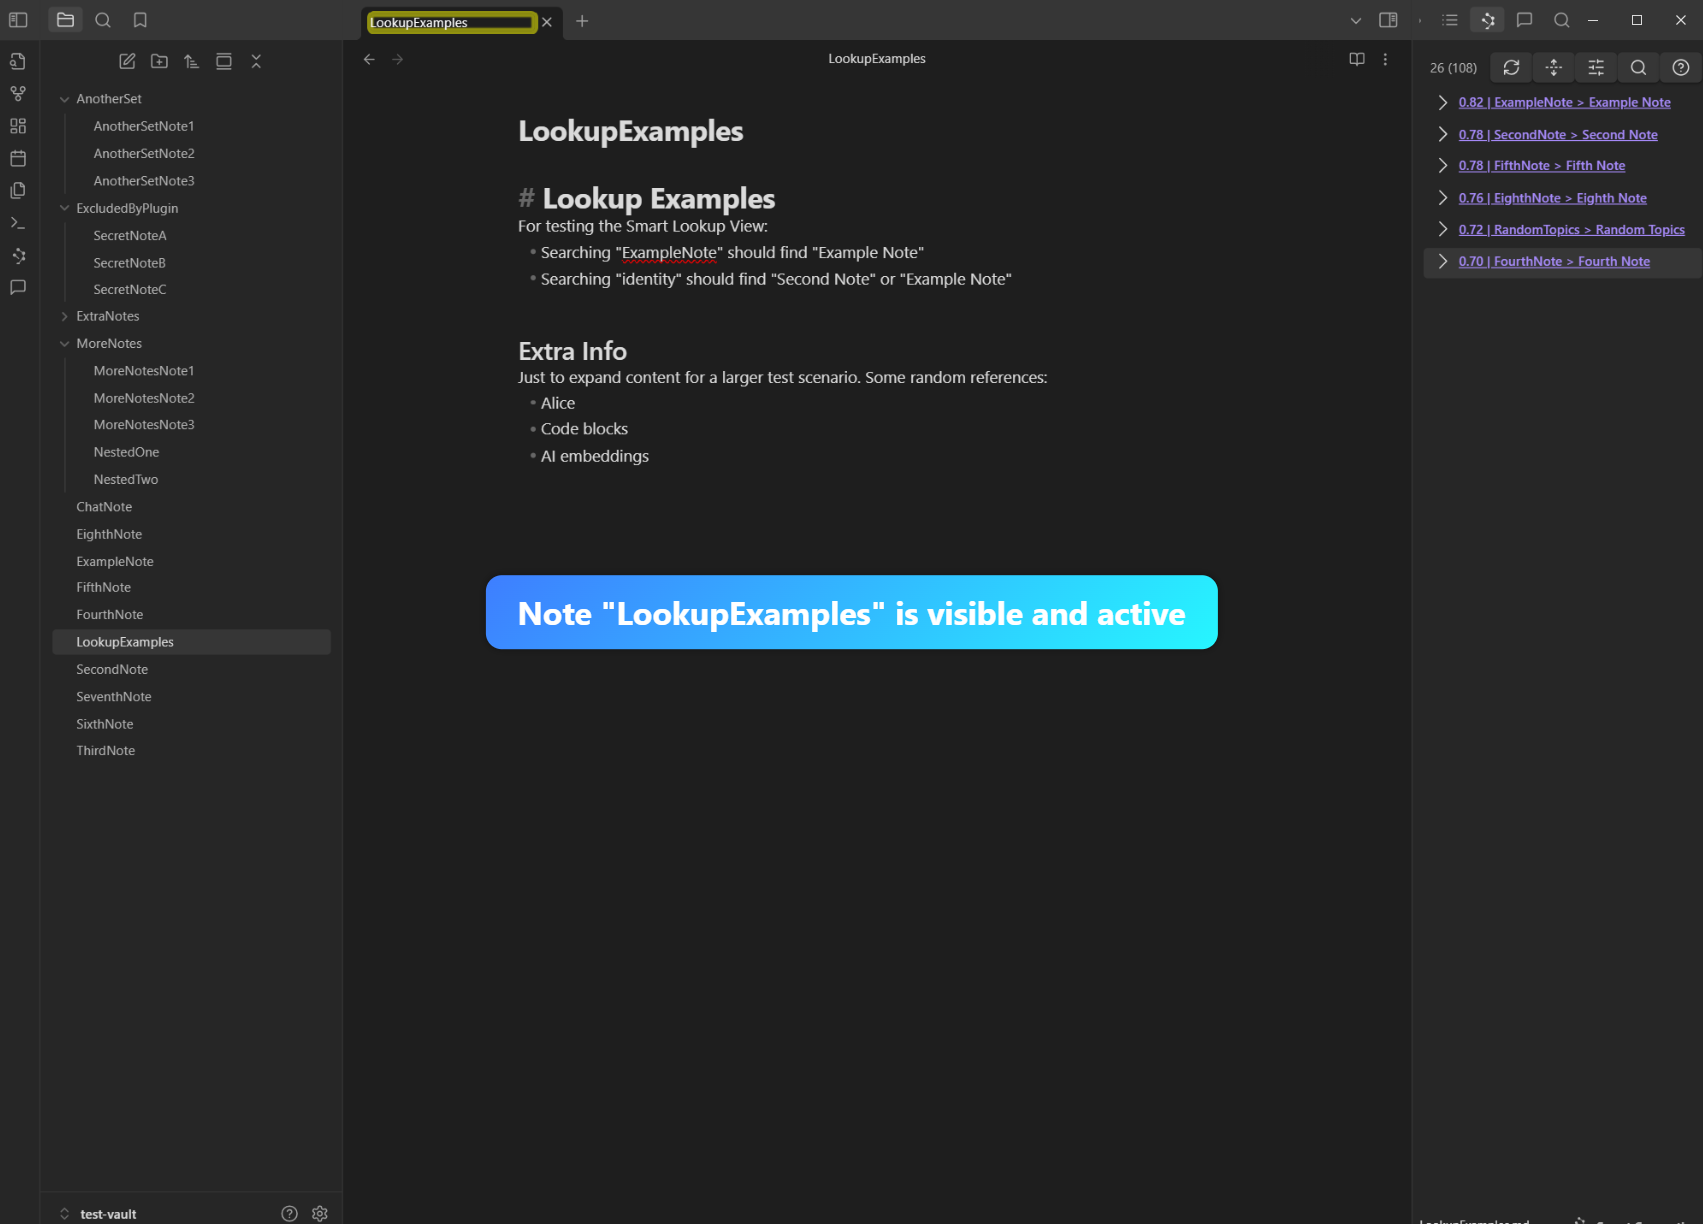
Step 2: Verify Note Opens
Confirm the note opens in the main editor tab and is visible.
Demo 6: Expand/Collapse All
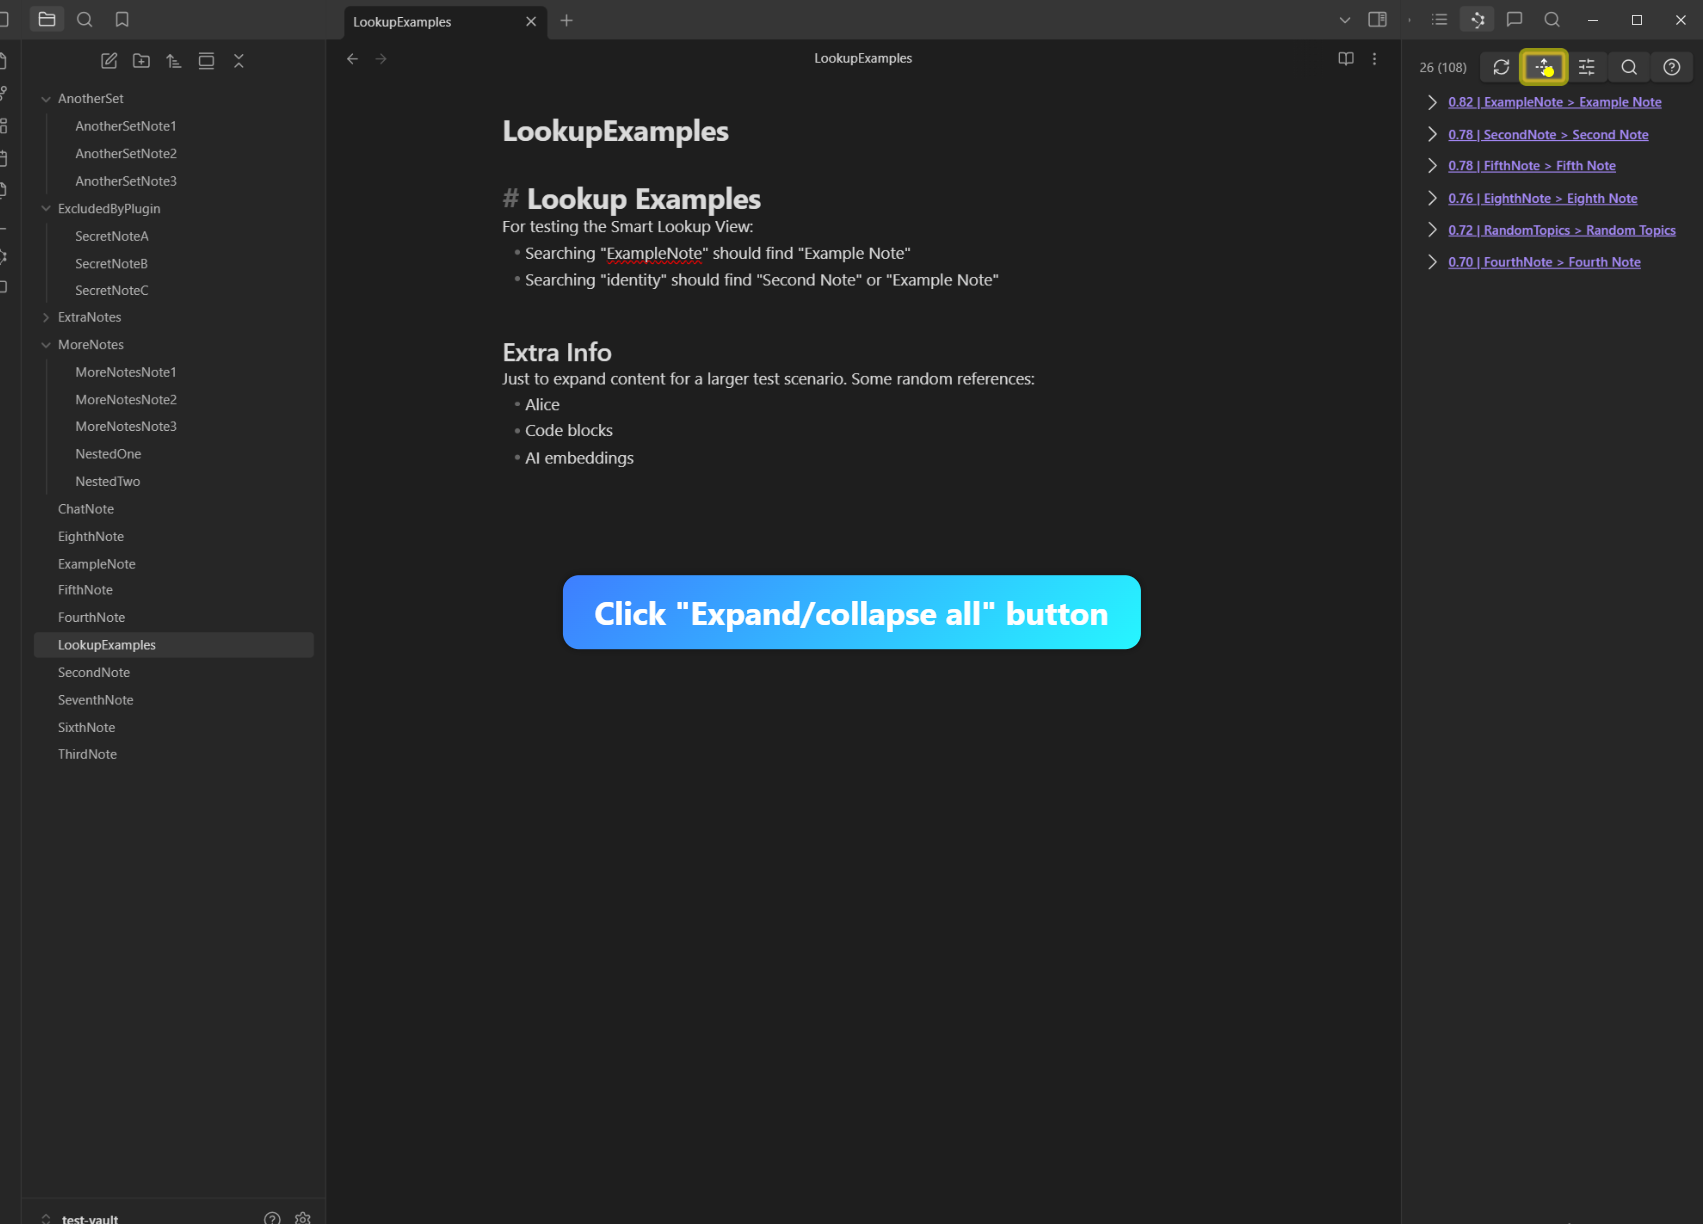
Step 1: Locate Button
Locate the ‘Expand/collapse all’ button in the Connections pane top bar.
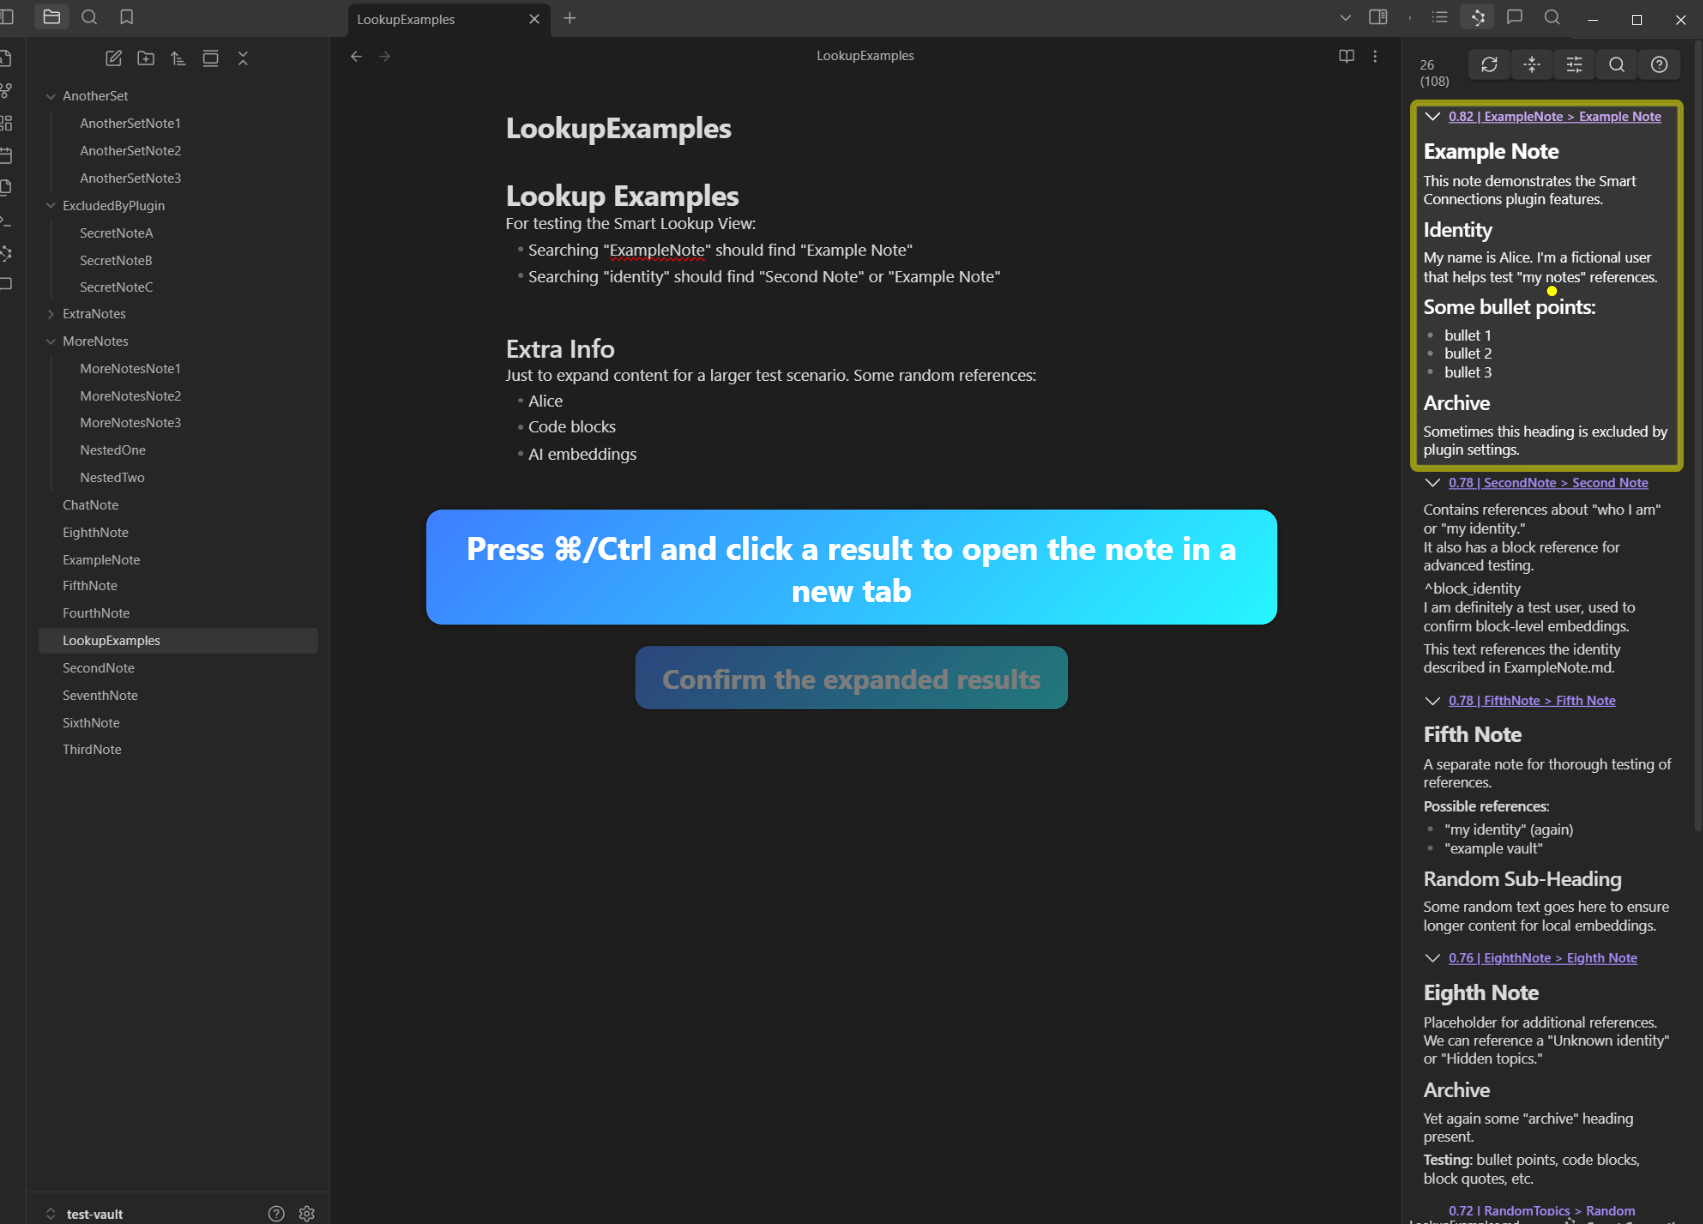
Step 2: Expand All
Click the button to expand all results, observing excerpted text.
Step 3: Collapse All
Click the same button again to collapse all results.
Demo 7: Open Note in a New Tab (⌘/Ctrl + Click)
Step 1: Press and Hold ⌘/Ctrl
Find a Connections pane result, hold Ctrl/Cmd, then click the result.
Step 2: Confirm New Tab
The note should open in a new tab, leaving the current note intact.

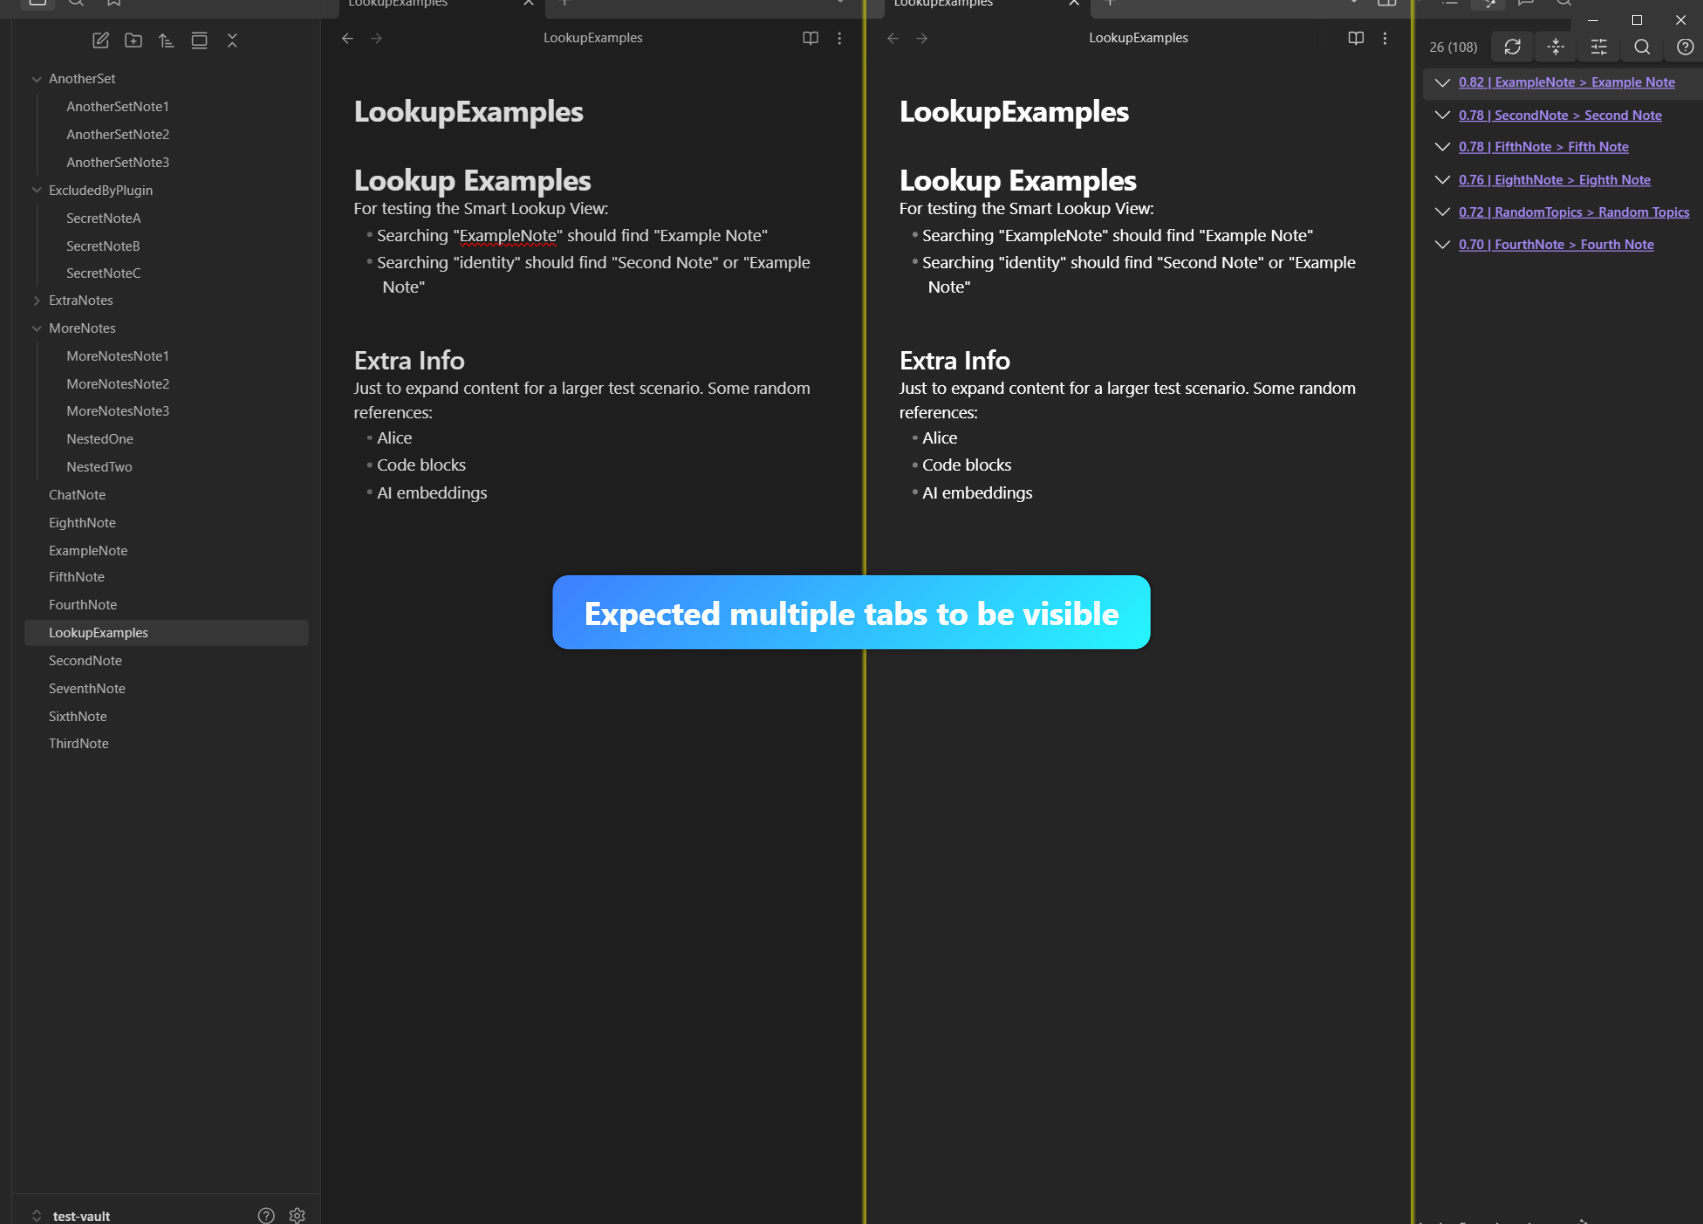
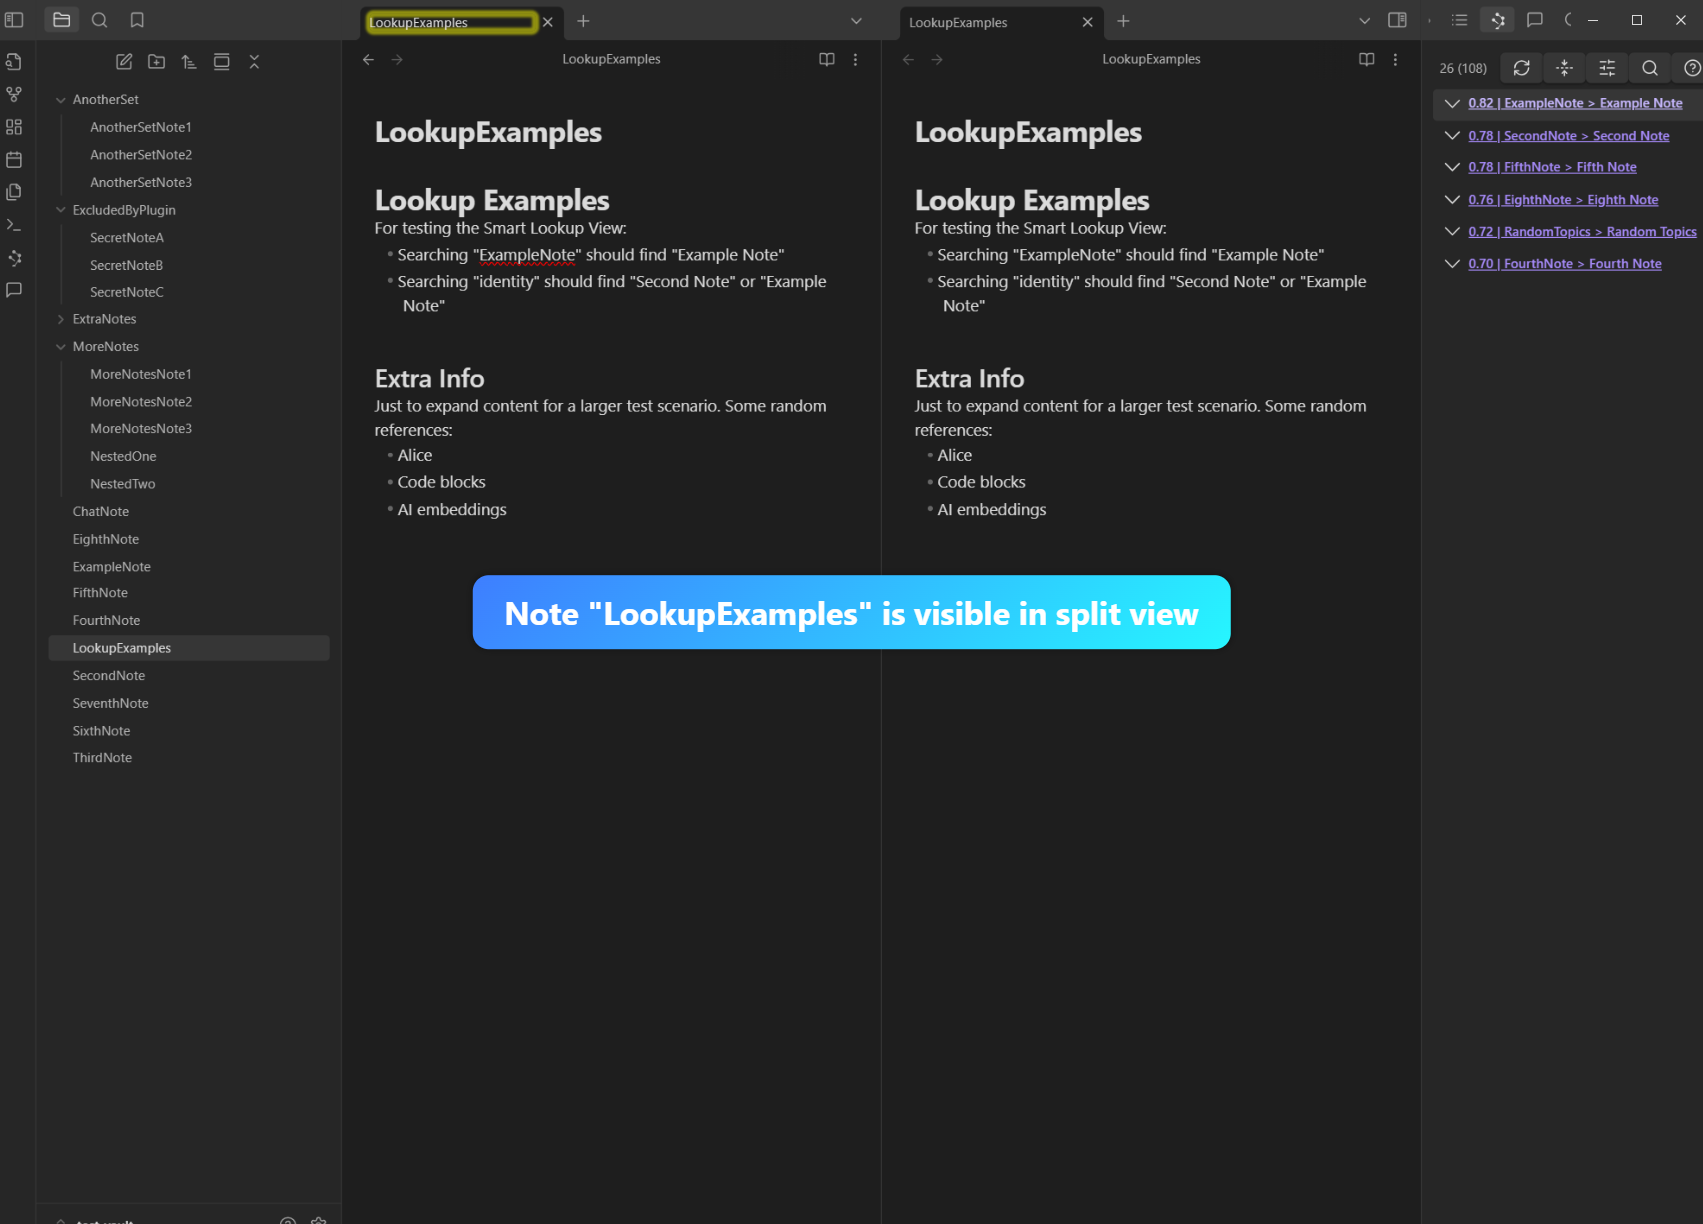
Demo 8: Open Note in Split View (⌘/Ctrl + ALT + Click)
Step 1: Close Unneeded Tabs
Close any unneeded tabs to simplify the workspace.
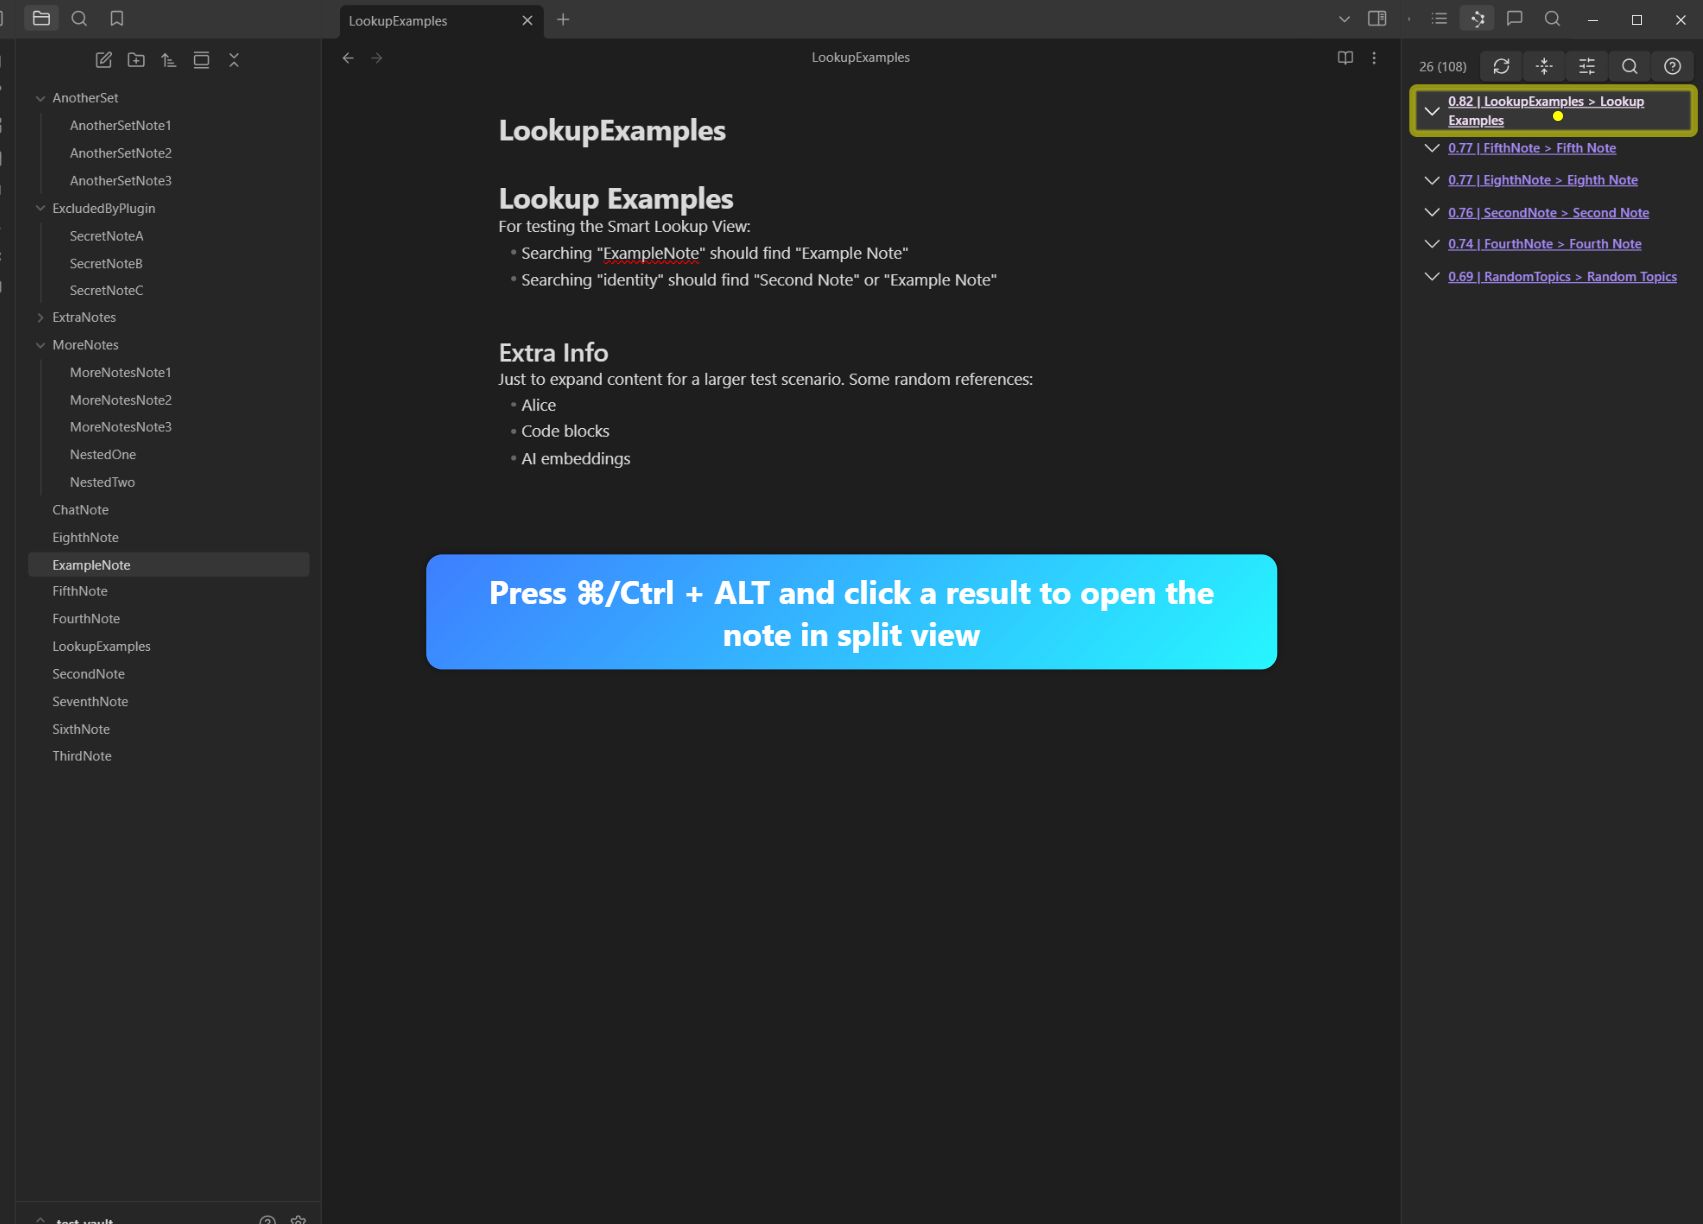
Step 2: Press Ctrl/Cmd + Alt
Press and hold Ctrl/Cmd + ALT, then click a Connections pane result.
Step 3: Verify Note Opened in Split View
After viewing, close the split view to return to a single pane.
Demo 9: Drag a Connection to Create a Link
Step 1: Identify the First Result
With a note active in the editor, locate the first Connections pane result.
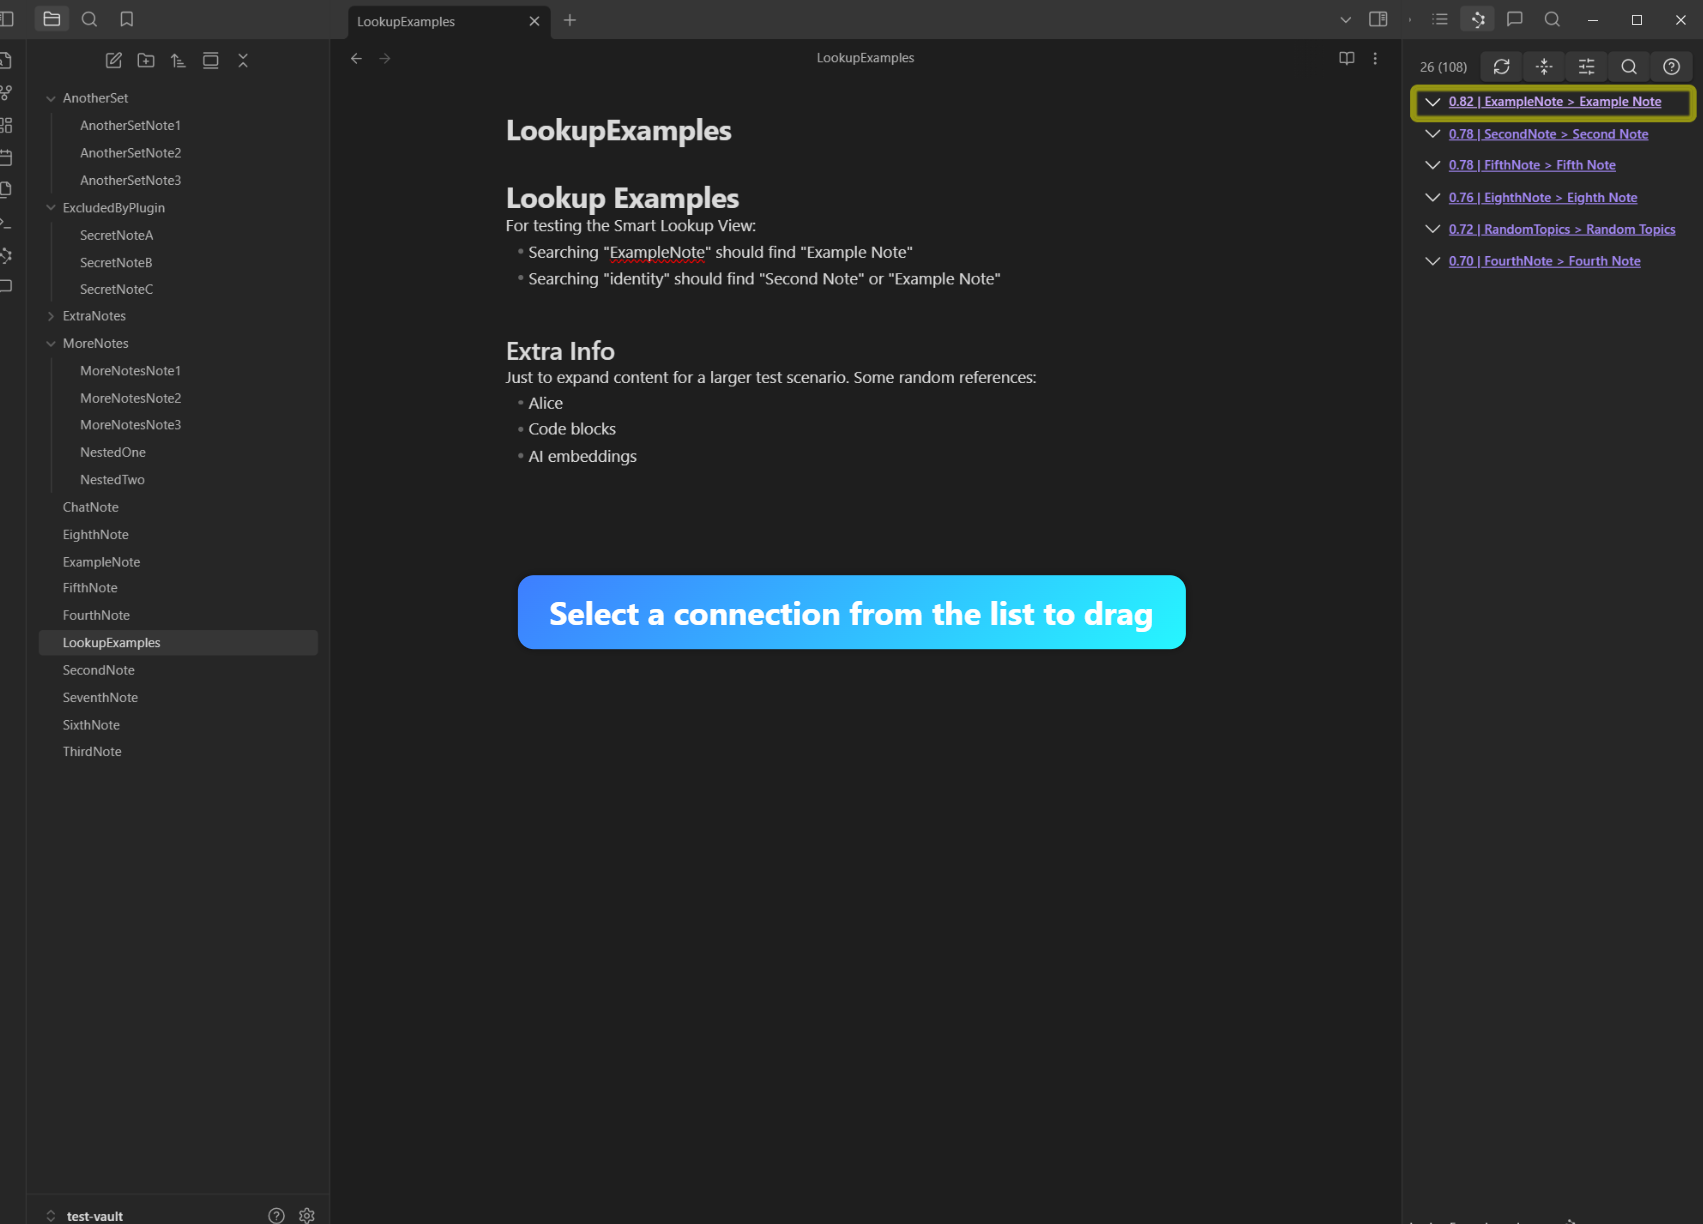
Step 2: Drag into the Note
Drag the result from the Connections pane into the note’s editor area.
Step 3: Verify Link
Observe that an Obsidian link (e.g. [[LinkedNote]]) is automatically inserted.

Demo 10: Auto-Refresh When Switching Notes
Step 1: Press Escape
Press ‘Escape’ or otherwise close any dialogs/popovers.
Step 2: Open Another Note
Open a different note (e.g. “SecondNote.md”).
Step 3: Confirm Pane Refresh
Check that the Connections pane automatically refreshes with the new note’s relevant results.
Expected Results
- Pane updates immediately when focusing a different note.
- Dragging references automatically inserts links in your current note.